Released in June 2019, Receipt Capture in QuickBooks Online allows users to directly upload receipts to the QuickBooks online banking center where QBO will read the receipt and either match to an existing transaction or allow users to add a new transaction.
There are two ways to add receipts: drag/drop to the Receipts center or email to a special Receipt Capture email.
The first thing we want to do is add senders, otherwise the only people that will be able to email are the Master Admin and of the QBO account and Accountant Firm users. We’ll need to go to Banking > Receipts > Manage senders.

For first use, you’ll be asked to register your email for Receipt Capture in QuickBooks Online. Because I was logged in as the Accountant Firm user, that email address became connected this client QBO account. It is possible to connect to multiple clients; in order to send to a different client, you need to toggle your Accountant user name to off in the active client account, switch to the another client QBO account, then toggle your Accountant user on, then send the email.
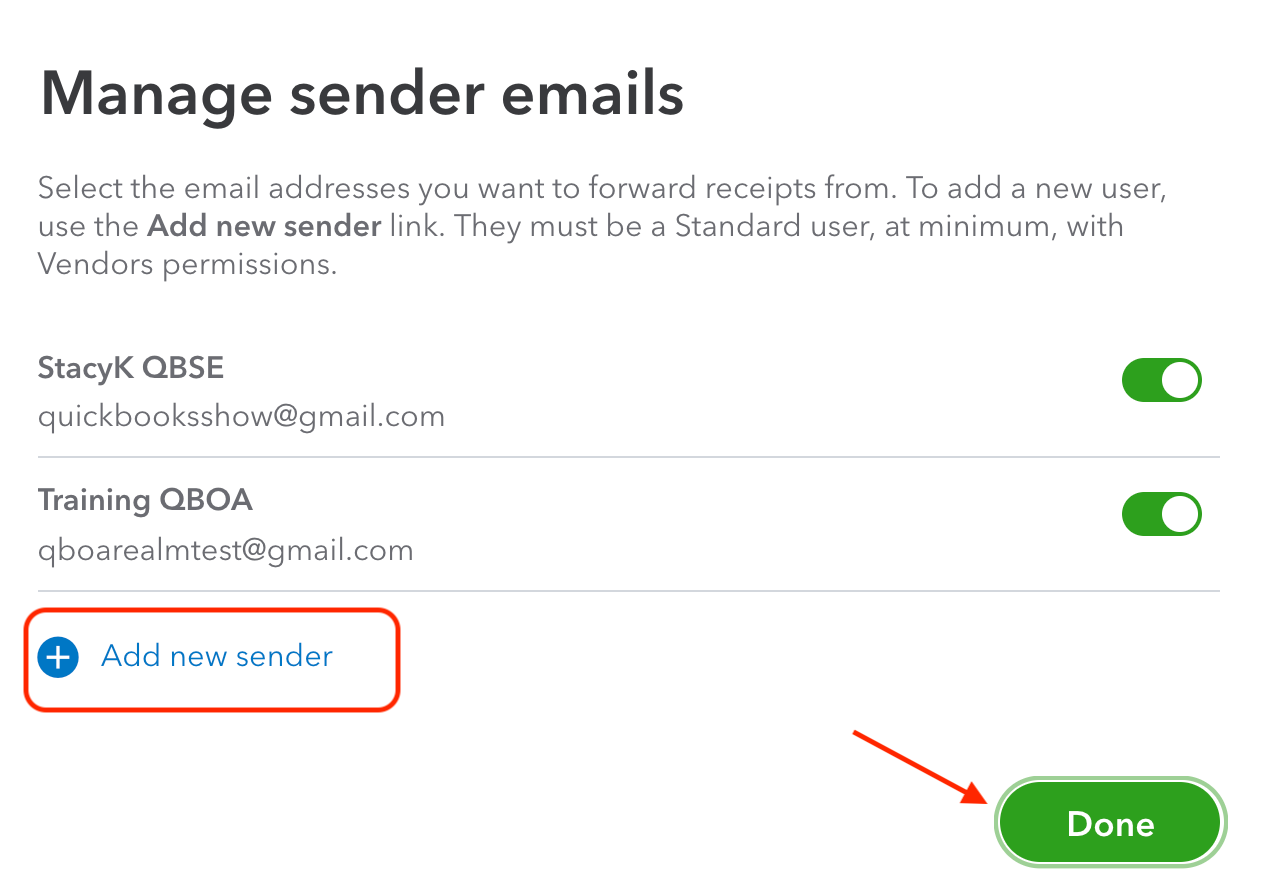
In the screenshot below, you see the Master Admin of the QBO account and myself, the Accountant User. To add additional users, just click the “Add new sender” link as needed, choose from the list of current QBO users (Note: At the time of this writing, only current QBO users with at least vendor only access may be added as sender) then “Done” when you’re all set:
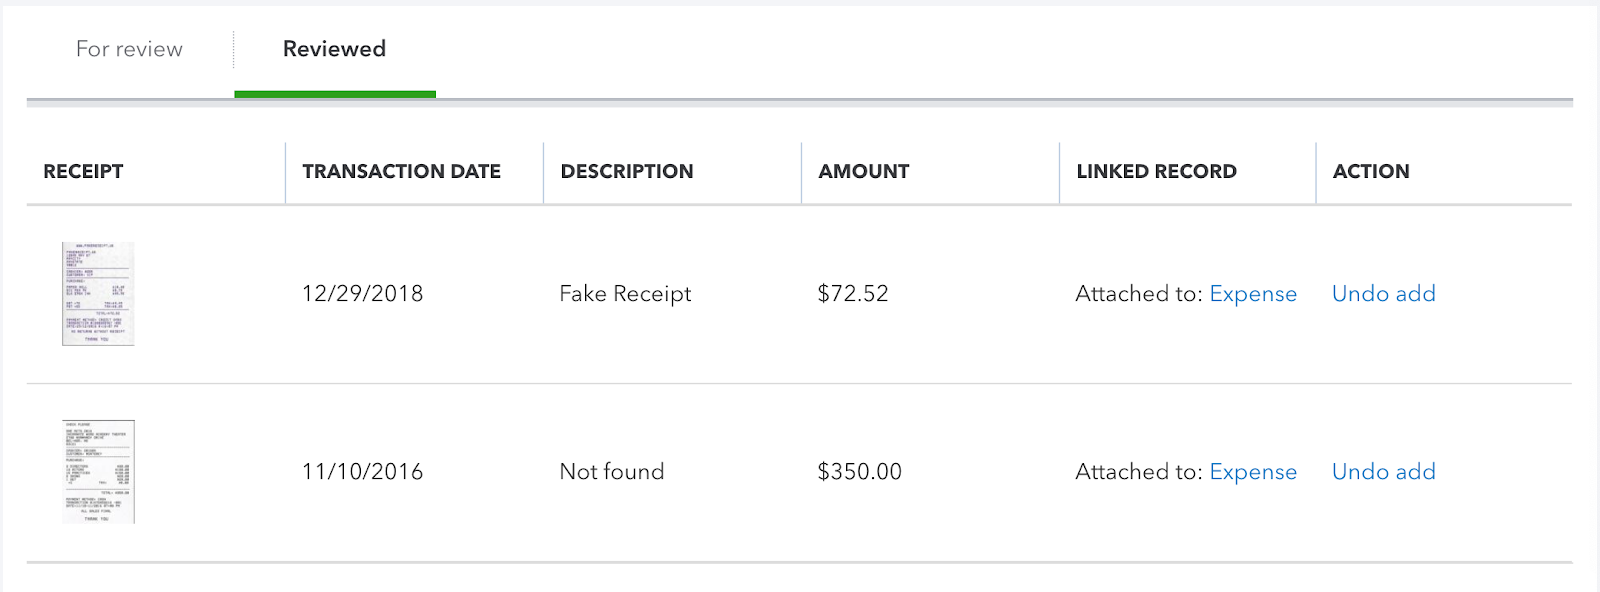
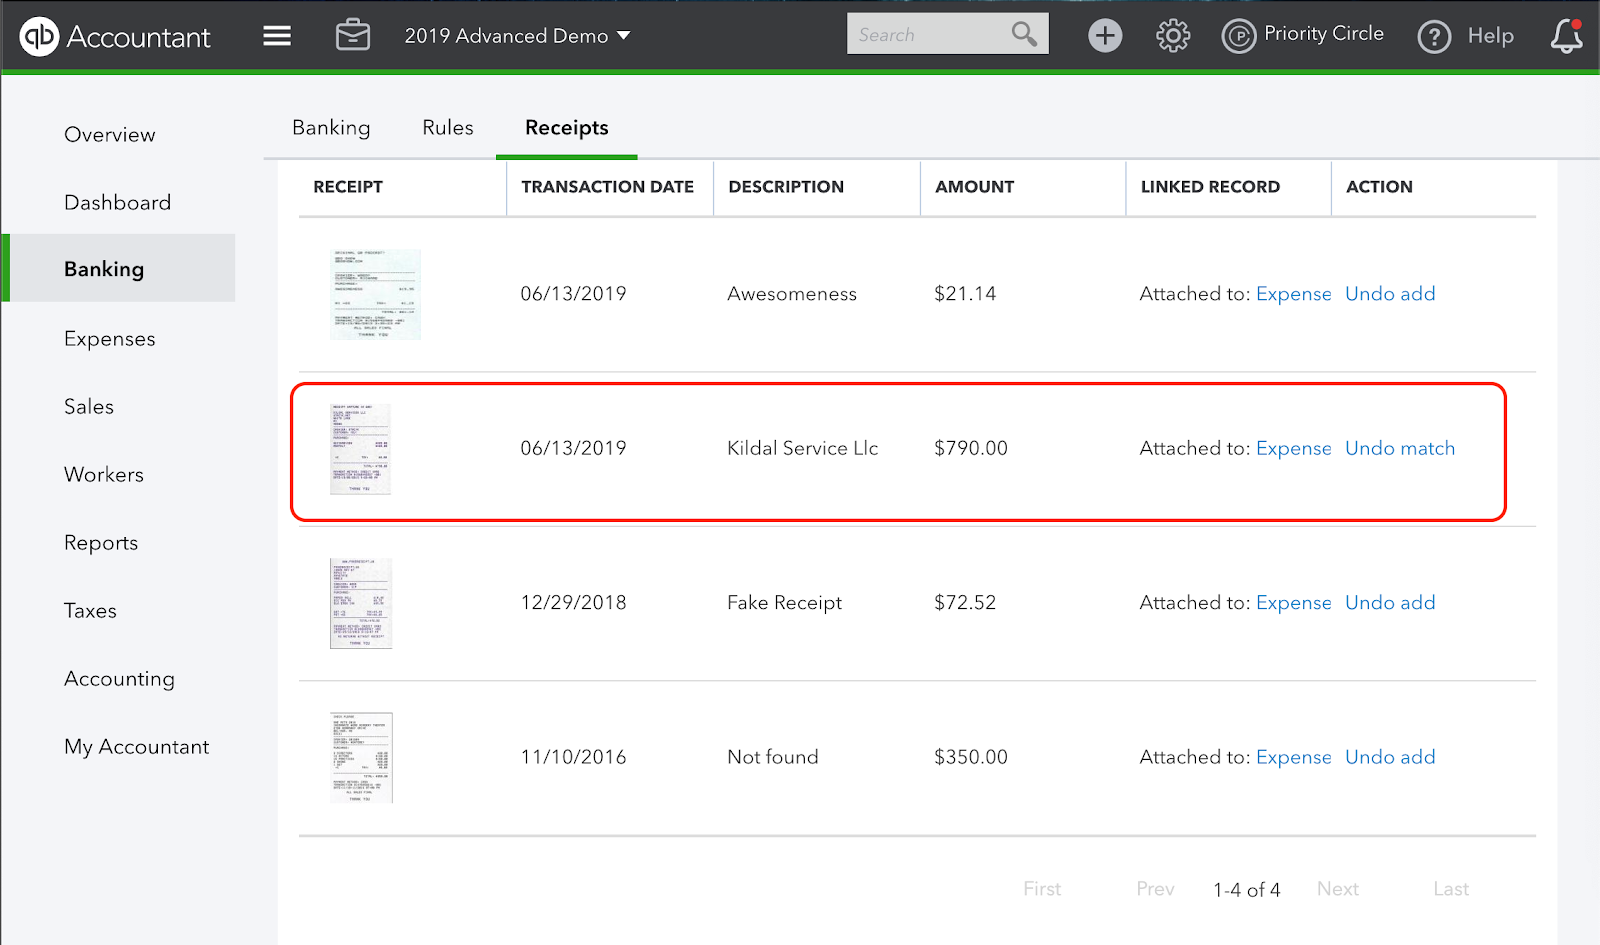
Before we start adding receipts, let’s take a look at the Receipts center. If you’re familiar with the QBO bank feeds, you’ll feel right at home. We have a “For review” tab and a “Reviewed” tab. Here we have two receipts that have already been uploaded and added. We can click on the “Expense” link in the Linked Record column, or if necessary, we can choose “Undo add” in the Action column:
Clicking on the first receipt in the above screenshot, we can see the receipt attached:
I want to show you a few things: both ways to add a receipt, as well as how you either manually add an expense and how cool it is when QBO Receipt Capture matches an existing transaction.
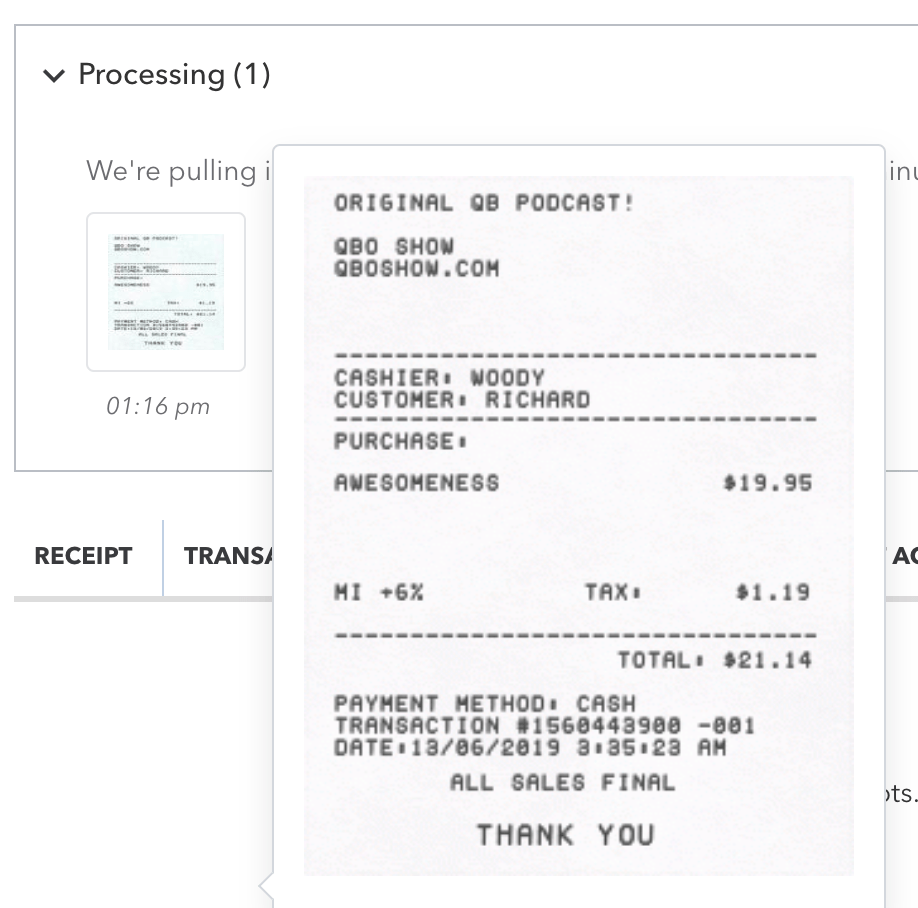
We’ll start by emailing a receipt and manually. You can see here that it shows up in the Receipts center immediately, but it does take a few minutes for QBO to read it:

While it’s processing, you can hover your mouse over it for a preview:
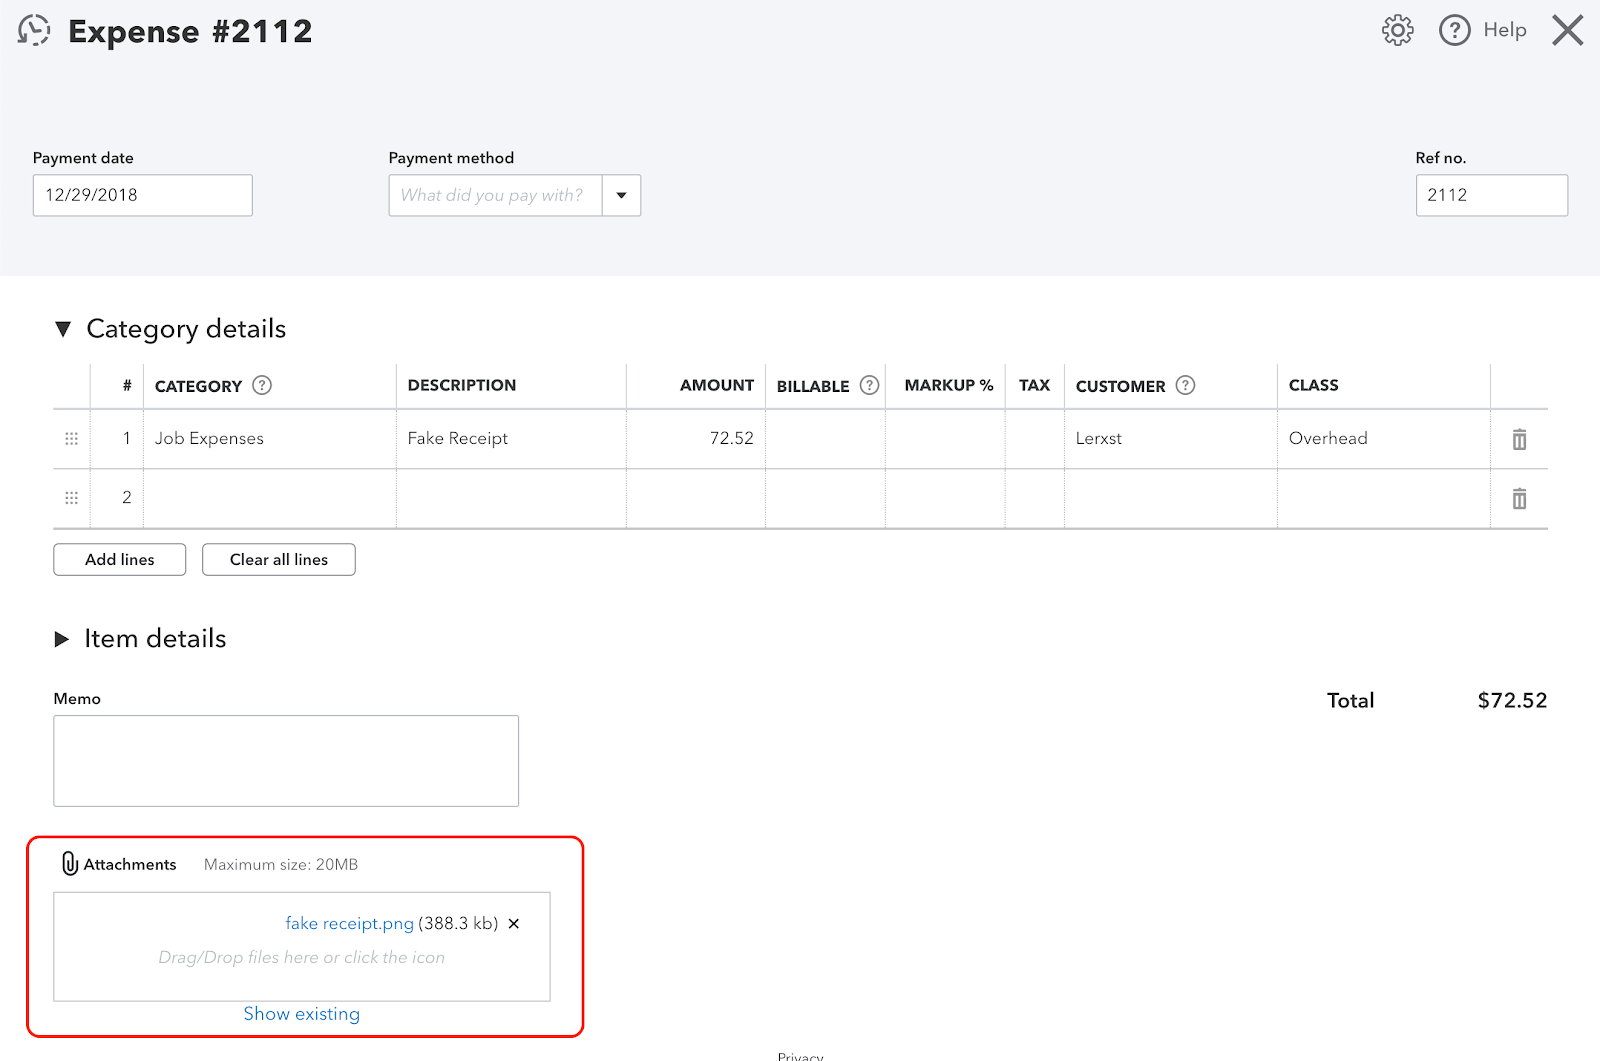
Once this was processed, I was able to quickly add the expense to QBO:
Again, here’s the expense transaction, showing the receipt attached to it:

Now, let’s do the drag/drop to match a transaction that I added specifically to for this fake receipt I created just to write this article!
Here you can see it in the Reviewed tab in the Receipts center:
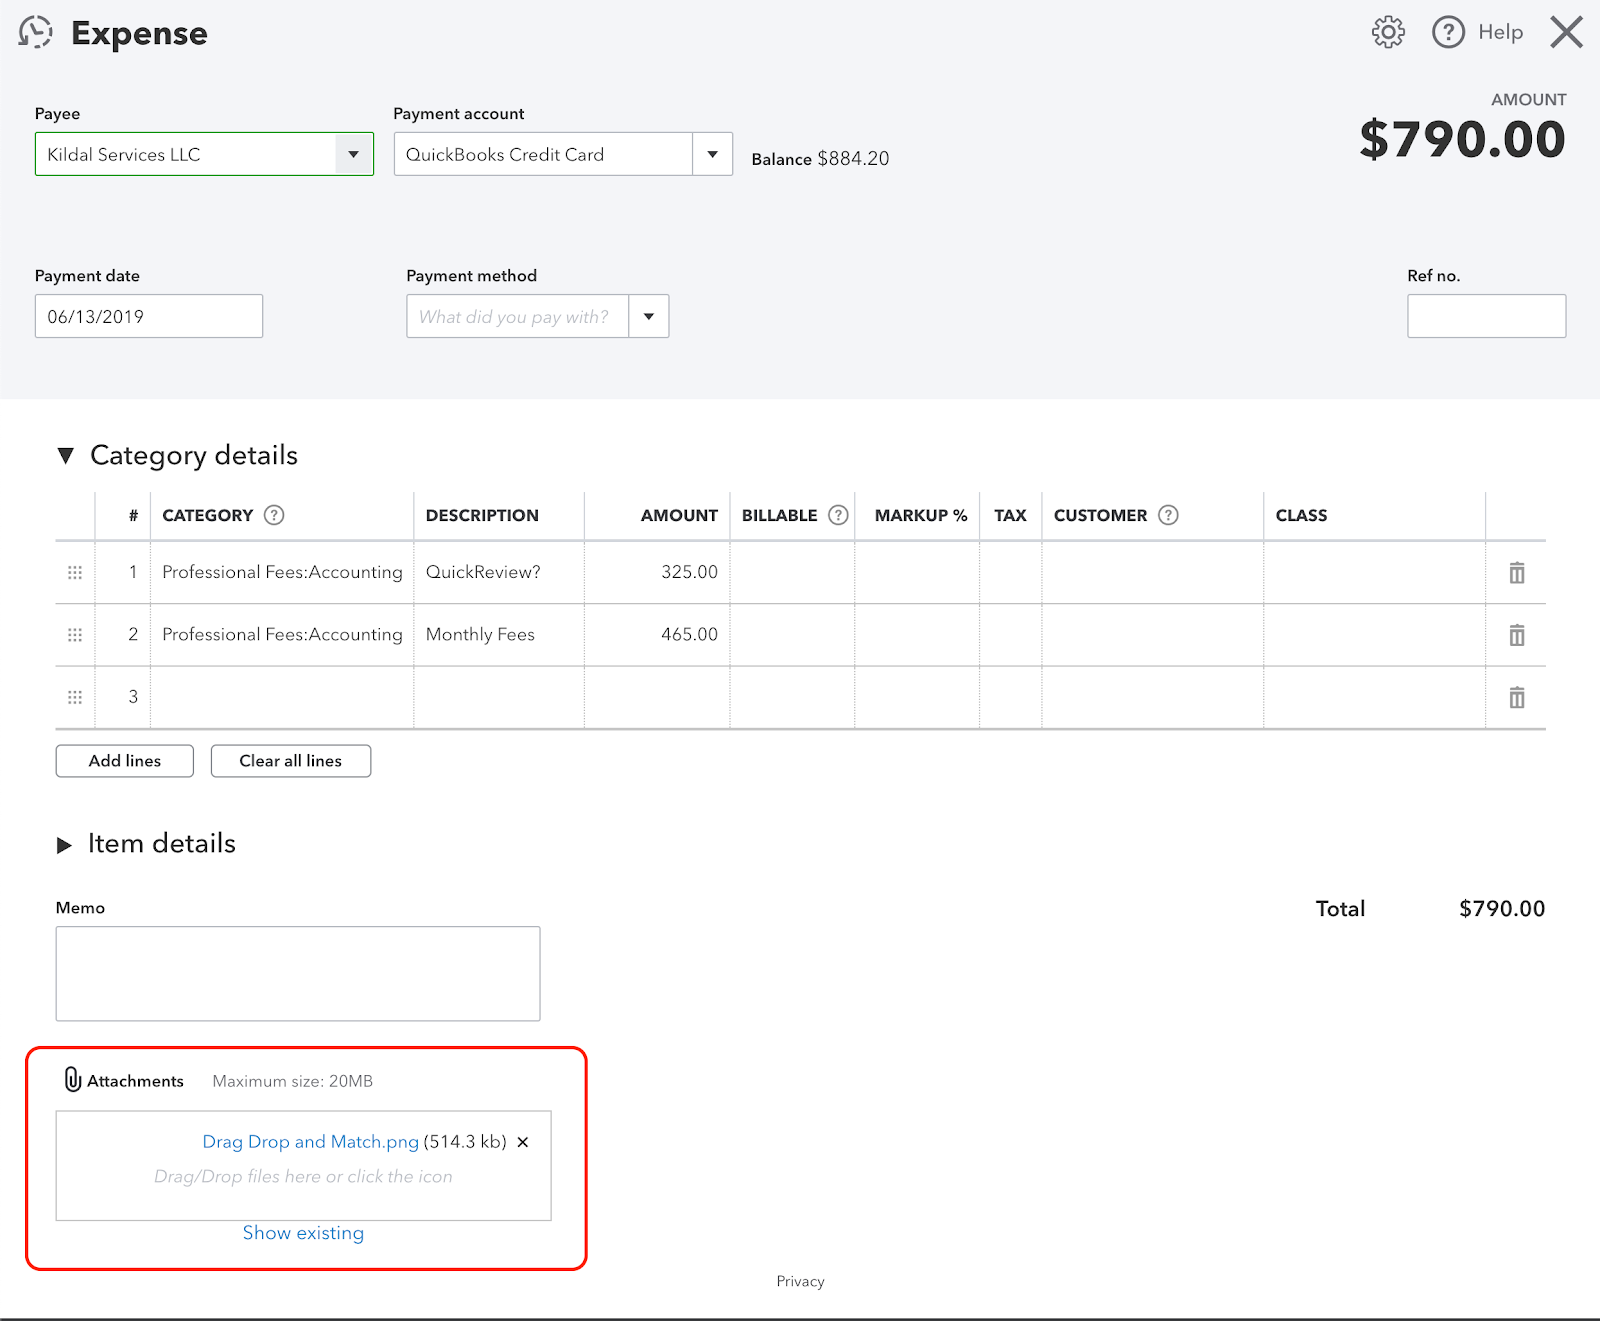
And here’s the original expense, with the receipt attached:
Don’t forget – you can even use Receipt Capture in QuickBooks Online with the mobile apps as well:

You can check out the QBOShow interview about Receipt Capture in QuickBooks Online with Intuit Product Manager Rebecca Gilbert for more information.


