Intuit recently revamped their Invoice with Google Calendar app, so as a long time Google Calendar user, I had to write an article to show how easy it is to set up and use.
Here is your step by step on how to connect the app, then start adding line items to your invoices from Google Calendar.
1. Login to the QBO account to which you’ll be adding the app – MAKE SURE YOU ARE LOGGED IN AS MASTER ADMIN BEFORE ADDING THIS APP
2. Find Invoice with Google Calendar in apps.com. To save you time, here’s the link: https://stacyk.site/InvoiceWithGCalApp
3. Click “GET APP NOW” button:

4. If prompted (you may be Master Admin on more than one QBO subscription) select the QBO you to which you want to connect:

5. Click the “Authorize” button:

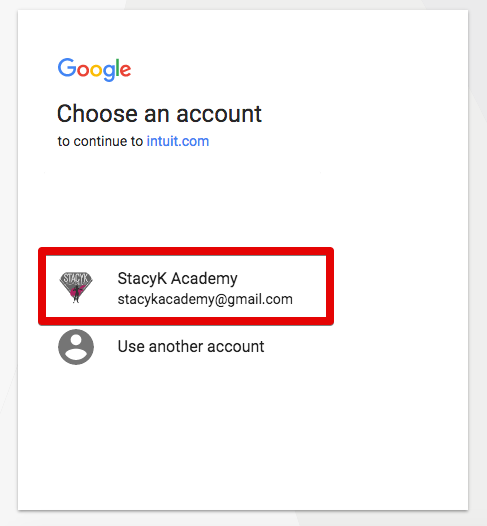
6. Invoice with Google Calendar will then ask you to what Google account you’d like to use (the app only allows you to connect one Google Calendar account at a time):
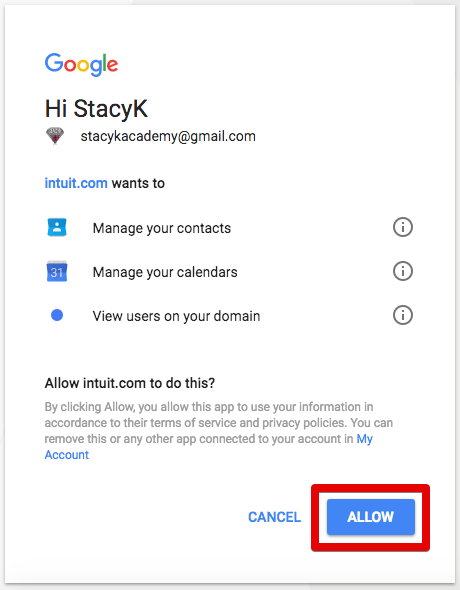
7. Tell Google that Invoice with Google Calendar has permission to access information:
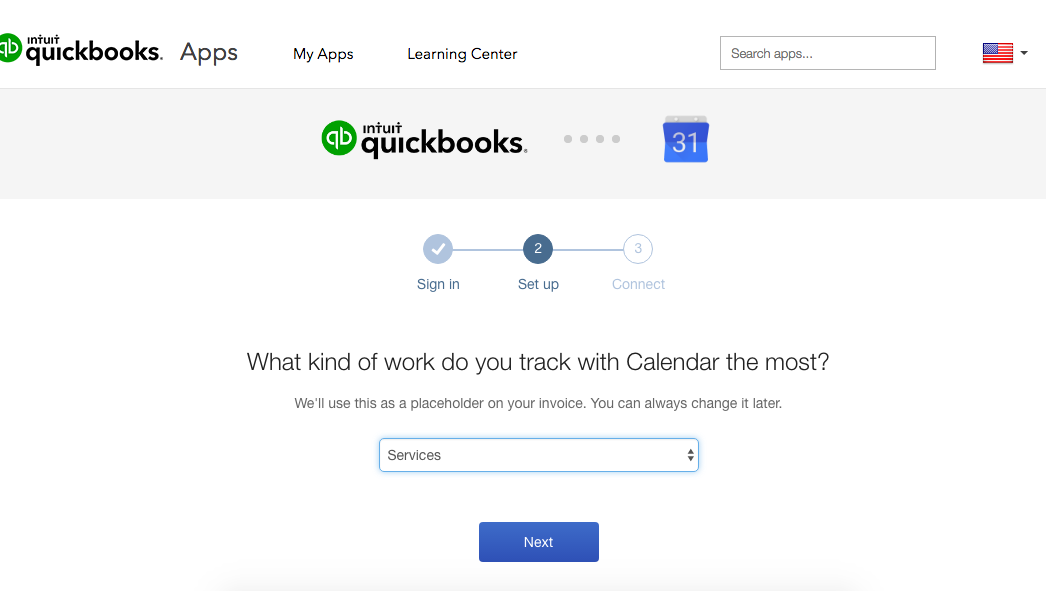
8. Now you’re ready for setup!

9. You’ll be asked to choose an item from the Product/Services List from your QBO account. For this, I choose a generic services item. One cool thing is that after you select events using Invoice with Google Calendar, you’ll be able to change the item, but the description and time that were imported will not change.
10. You’re almost done! Just click the “Connect” button to complete setup: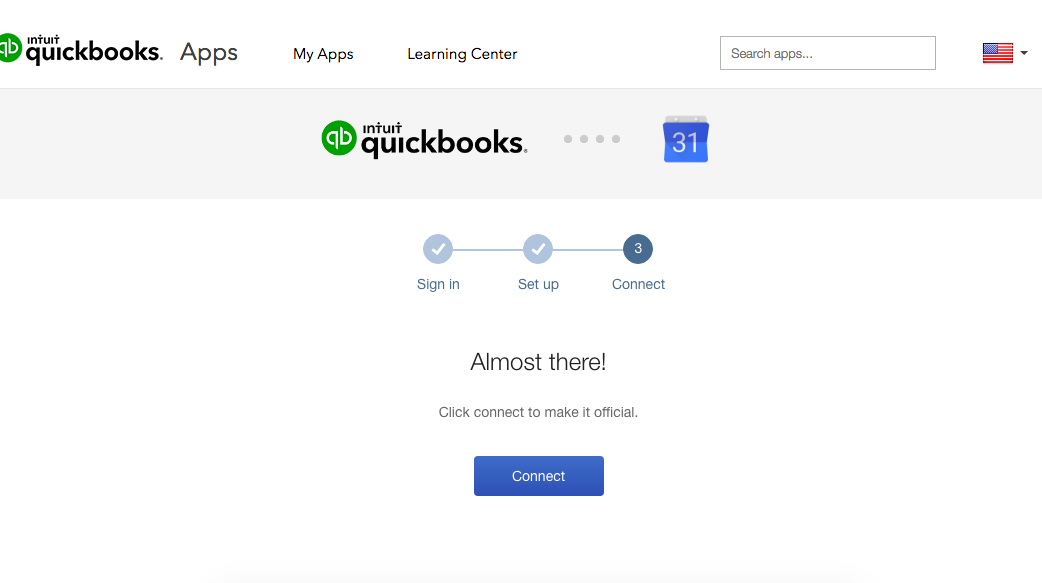
11. Invoice with Google Calendar will now ask you to go back into QBO:

12. Invoice with Google Calendar will take you directly to the create invoice page in QBO and give you a little hint on how to add events:
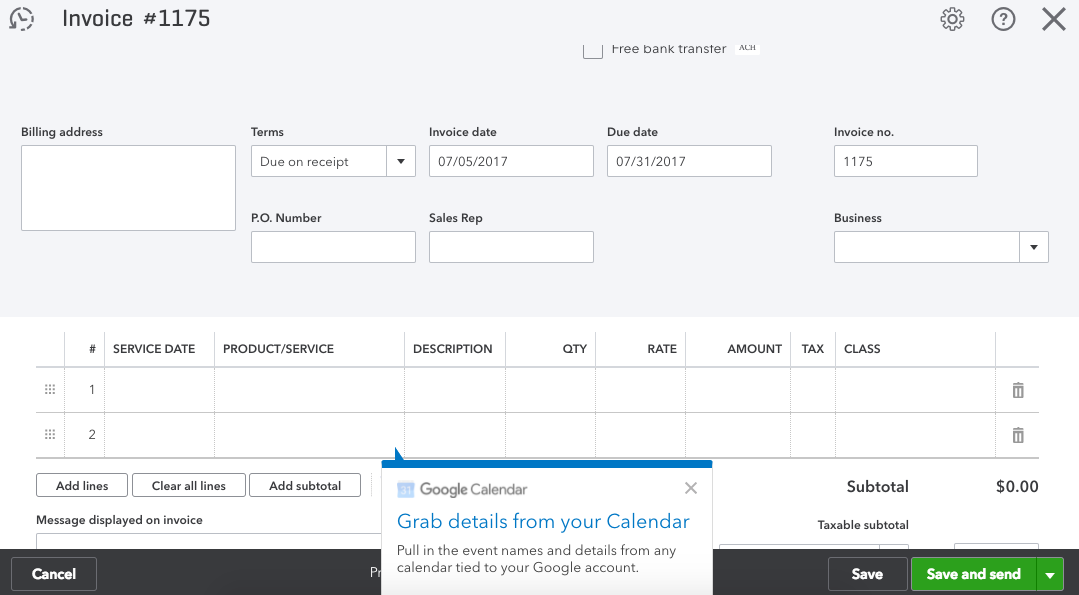
13. Once you close out the tip, your invoice form will look like this – you’ll click on the Google Calendar icon to add events as line items:

14. After you click the icon, a drawer will open. You’ll see the calendar events connected to the Google account you assigned to the Invoice with Google Calendar. This means that if anyone has shared their calendar with the Google account you’ve connected, you’ll be able to add events from that shared calendar – handy when you’re using GSuite and need to invoice for a team member’s event.
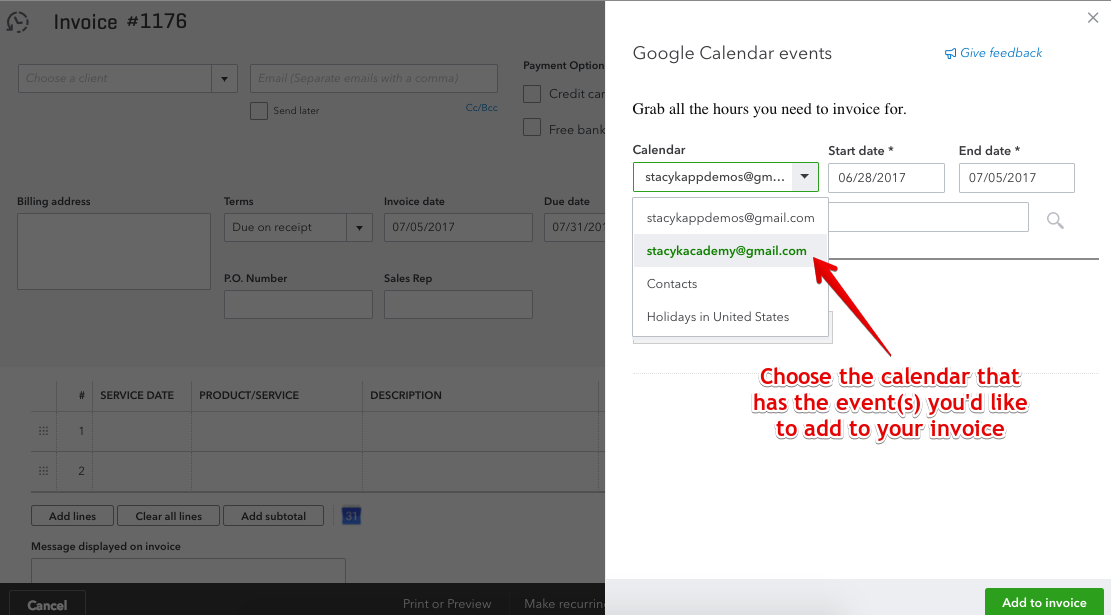
15. Now you can start adding events!
15. Last thing, and this is just a best practice/pro tip. Once you have the invoice created in QBO, you can copy the URL for the invoice, and then paste it into the description of the calendar event. This way, you can always verify that the client/customer has been invoiced for the appointment, and as long as you’re logged into QBO, you can copy/paste that link into a new tab. (Also, or instead of adding the URL: You can also save the invoice as a PDF, then attach to the event in Google Calendar).
Before you leave, I just want to mention a few things about the app.
- You cannot add events to line items on Sales Receipts – only invoices.
- You also cannot restrict user access to this; any user that can create Invoices can add calendar events.
- Calendar events can be added more than once – so you may want to edit the title of the event to include **Invoiced** at the beginning, so that is easily visible when choosing events.
- This app does not work with the QBO Mobile apps, but I did test it with Chrome on my ipad and it worked BEAUTIFULLY.
- It’s FREE!
Don’t forget to check out some of the other QBO How-To articles on StacyK.net!


wow Great Tip!
My pleasure! Glad to help 🙂
-StacyK